The lesson content & display settings provide a way for you to use additional content on your lesson, as well as make it a little more interactive. You can include additional lesson materials, add some helpful logic to your video playback, allow users to upload assignments, and include a lesson timer.
Locating Lesson Display & Content Settings
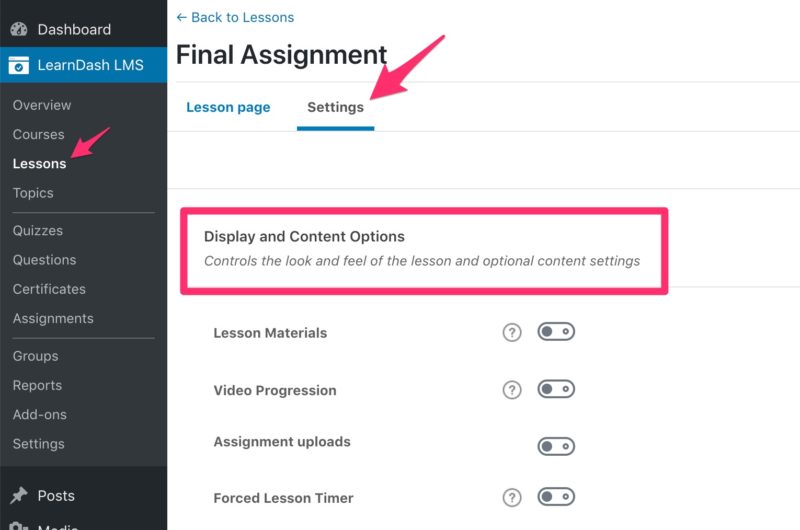
- Navigate to LEARNDASH LMS > LESSONS
- Click on the lesson you want to edit
- Click on the Settings tab at the top of the page
- Locate the section titled “Display and Content Options”
Lesson Materials
Lesson materials are supplemental materials needed for the lesson. It is most common to include PDF files or other downloadable files in this area, but you can include anything you’d like (PDFs, images, downloadable audio files, links to other websites, etc.).
- Next to Lesson Materials, turn the setting on
- Add your materials in the box (HTML is supported)
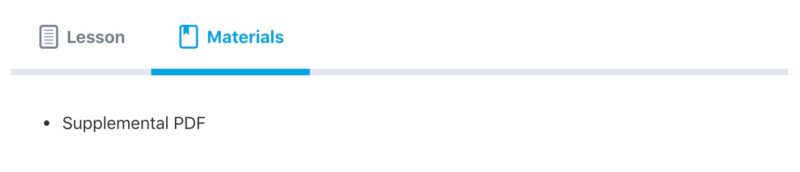
Lesson materials are displayed to your users in a separate tab, alongside your main lesson content.
NOTE
Between video progression, assignment uploads & lesson timer, only one of the three can be enabled at a time. Enabling one of these options will make the other two inaccessible.
Video Progression
Video progression is a way to require users to watch the entirety of a video before they can complete the lesson. Please see our full guide on video progression.
Assignment Uploads
NOTE
Assignment uploads cannot be enabled if either video progression or lesson timer are enabled.

To allow users to upload assignments to the lesson, enable the Assignment Uploads option. You’ll be presented with a few additional options:
File extensions
You can specify exactly which file types may be uploaded.
- Enter each allowed file type in the box (without the leading
.) - Separate multiple file types with a comma
- Leave blank to allow any file type to be uploaded
For example, enter the following to allow only Microsoft Word, Excel & PowerPoint files:
doc, docx, xls, xlsx, ppt, pptx
Here’s a list of common file extensions »
File size limit
You can specify the maximum file size allowed to be uploaded.
- Enter a number, followed by
M(for megabytes)
For example, to limit uploads to 5 megabytes, enter 5M.
NOTE
Your host also sets a maximum file size limit. The lower limit will always be used. If you’re having trouble receiving assignment uploads, you can contact your host and ask them to increase your maximum file upload size.
Points
If you’d like to award points to a user when they submit an assignment:
- Next to Points, turn the setting on
- Enter the number of points to be awarded for a submitted assignment
Grading Type
There are two options for how assignments are graded:
- Auto-approve (default)
No grading or approval is needed. The assignment will be automatically approved & full points will be awarded. - Manually approve
An admin or group leader must approve the assignment. The lesson cannot be completed until the assignment is approved.
If you choose to manually approve an assignment, you have additional options:
Limit number of uploaded assignments
Enter a number in the box to specify the maximum number of files a user can upload for this assignment.
- Leave blank for unlimited (default)
Allow file deletion
Enable this option to allow the user to delete their own uploaded files. This is only possible up until the assignment has been approved.
Forced Lesson Timer
Enabling a forced lesson timer will require the user to spend a certain amount of time on the lesson page before they can mark it complete. The lesson cannot be completed until the set time has elapsed.
- Next to Forced Lesson Timer, turn the setting on
- Enter the time in the following format:
HH:MM:SS(hours : minutes : seconds)
The countdown timer will appear below the “Mark Complete” button.